The short answer: First-layer adhesion problems fall into five categories: dirty bed, wrong nozzle height, wrong temperature, wrong material for the surface, or a draft. Diagnose by what you see in the first 30 seconds of the print, not by what online forums tell you. Fix one variable at a time. 90% of "the print won't stick" problems are solved by cleaning the bed.
The five failure modes
| What you see | Likely cause | Fix |
|---|---|---|
| Filament drags / clumps behind nozzle | Nozzle too close to bed | Re-level / raise Z-offset 0.05mm |
| Filament beads up, doesn't flatten | Nozzle too far from bed | Re-level / lower Z-offset 0.05mm |
| First layer prints clean, then warps off | Bed temperature too low or draft | Raise bed temp 5–10°C, close enclosure |
| Whole print sliding around / lifting | Dirty bed (oils, dust, old residue) | Wipe with isopropyl alcohol |
| Print sticks to one side, not the other | Bed not level (rare on auto-level printers) | Re-run bed-level routine |
How to actually diagnose
Watch the first 30 seconds of the print. The first layer is where 99% of failures show up, and the visual signal is loud. You don't need a thermal camera or fancy tools — your eyes are enough.
1. Nozzle too close (the most common over-correction)
Filament gets dragged behind the nozzle in messy clumps. Lines look squished and translucent. The nozzle scratches the bed surface.
Fix: Raise the Z-offset by 0.05mm (in the slicer or printer settings). Re-print the first layer. If it's still messy, raise another 0.05mm. This is "live tuning" — most printers let you do it during the print.
2. Nozzle too far (the next most common)
Filament beads up into round little blobs that don't connect to each other. Lines have visible gaps. The print looks like dotted ridges, not solid plastic.
Fix: Lower the Z-offset by 0.05mm. Iterate until the first-layer lines look like flat, slightly oval ribbons that touch each other.
3. Bed temperature too low (warping)
The first layer prints fine, but as the second and third layers go down, corners start lifting off the bed. By layer 10, the print is an arched mess.
Fix: Raise the bed temperature 5–10°C above the slicer default. PLA: try 65°C if you were at 60°C. PETG: try 80°C. ABS: needs an enclosure to begin with — open-frame ABS prints almost always warp.
4. Dirty bed (the silent killer)
The print starts okay but the whole part slides around mid-print. Or it pops off entirely 20 minutes in.
Fix: Take the build plate off the printer. Clean it with isopropyl alcohol (90%+) and a microfibre cloth. Don't use dish soap (residue), don't use Windex (different residue). Plain IPA, plain cloth, both sides of the plate. Re-install. This fixes the majority of "it used to work and now doesn't" problems.
5. Bed not level
One side prints fine, the other side doesn't stick at all. This is rare on auto-leveling printers (Bambu Lab, newer Prusa, newer Creality K-series) but common on older bed-screw machines.
Fix: Re-run the auto-level routine. If your printer doesn't auto-level, use the paper test: put a sheet of paper between the nozzle and the bed at each corner; tighten the bed screw until the paper drags slightly when pulled.
Surface-specific tips
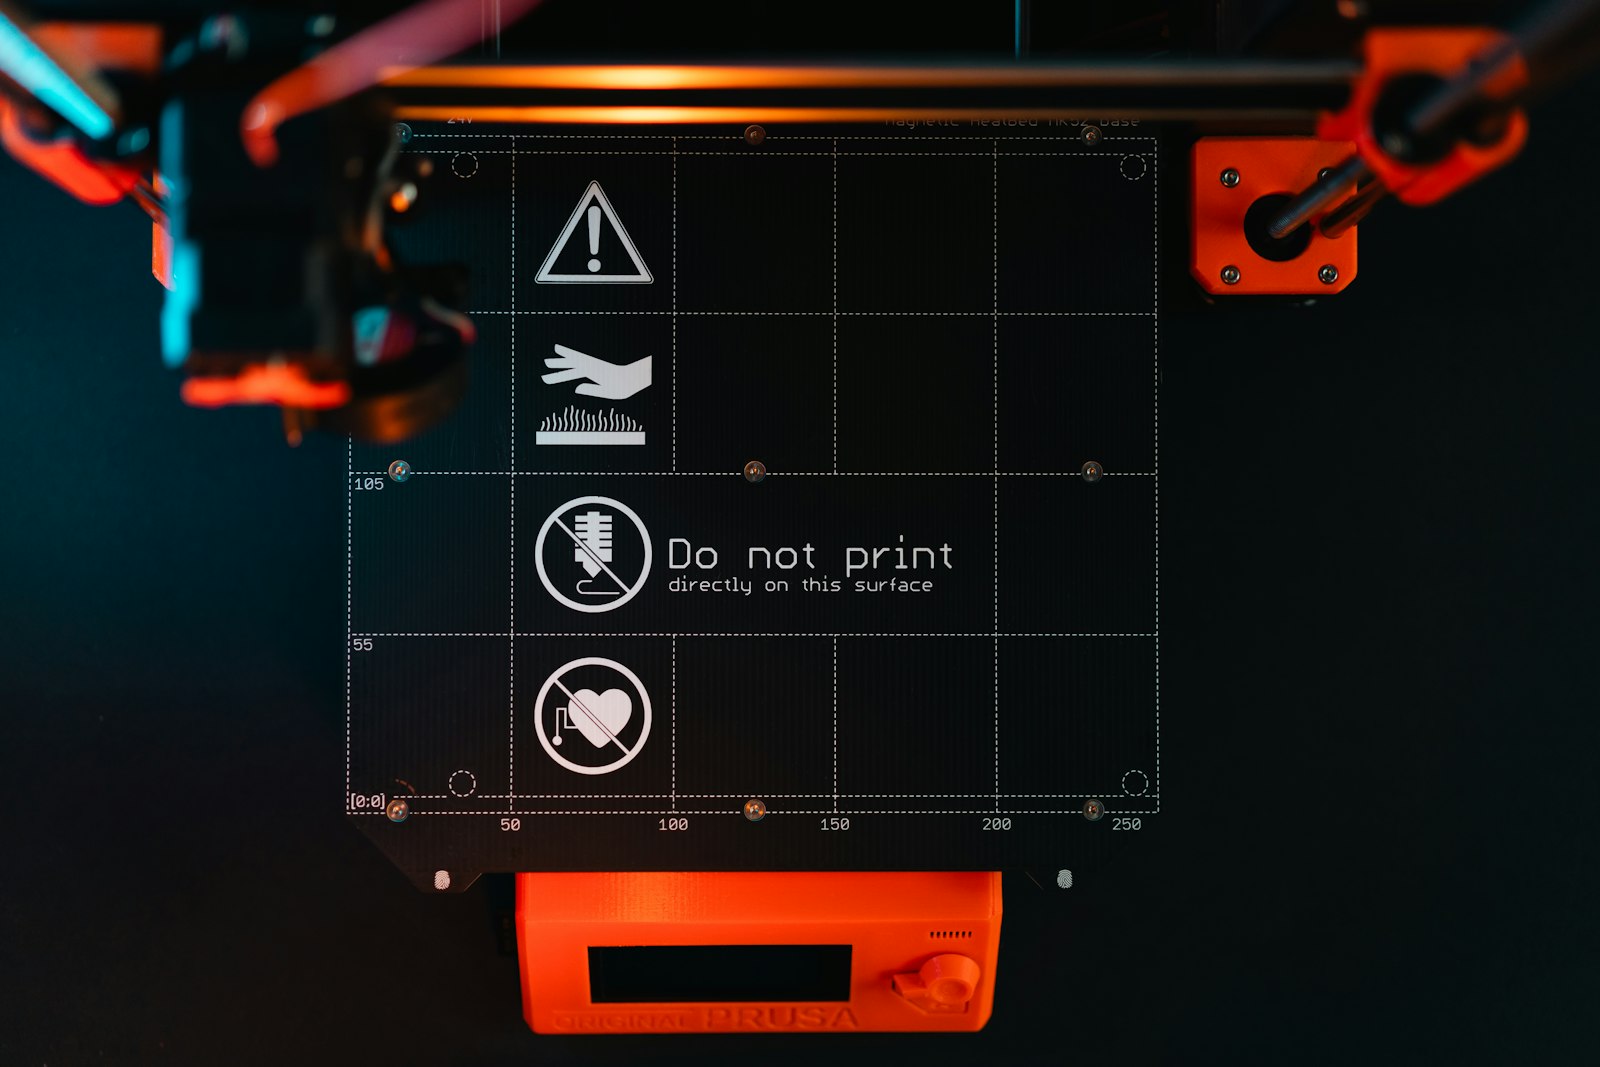
PEI (textured or smooth)
The default surface on most modern printers. Cleans easily with IPA. Avoid touching with bare fingers — finger oils break adhesion. PLA, PETG, ABS, and ASA all stick to PEI without glue.
Glass
Older printers. Needs a glue stick or hairspray for adhesion. Cleans with IPA. Glass plates crack if dropped — handle carefully.
BuildTak / similar adhesion sheets
Wear out after 50–100 prints. When prints stop sticking after a long history of working, the sheet is probably done. Replacements are cheap.
What not to do
- Don't change three things at once. If you raise temp + slow speed + add glue + clean the bed, you won't know which one fixed it. Change one variable, run a calibration print, see what happened.
- Don't blame the filament first. 95% of adhesion problems are bed or nozzle issues, not the filament. Switching brands without diagnosing first wastes money.
- Don't print at 200% speed for "more flow." First layers should run slowly — 20–30mm/s for PLA. Speed is the enemy of adhesion.
- Don't ignore drafts. A window AC, an open door, a fan blowing nearby — all kill bed temperature on open-frame printers. Move the printer or close the door.
The escalation ladder
- Clean the bed with IPA. Re-print.
- Re-run auto-level. Re-print.
- Adjust Z-offset by ±0.05mm based on what you see. Re-print.
- Raise bed temperature 5°C. Re-print.
- Slow down first-layer speed. Re-print.
- Try a brim or raft (slicer setting). Re-print.
- If steps 1–6 all failed, replace the build surface. The PEI may be worn out.
Most adhesion issues are solved at step 1 or 3. Steps 4–6 are for stubborn cases. Step 7 is rare.
DDDIMO connects buyers with creators who've already debugged everything you're hitting now. Get early access.